
Let's start the Easter morning right with a fun breakfast, Easter Bunny Cinnamon Rolls. This may be my easiest holiday recipe yet. Unroll some of the outer cinnamon roll, shape the top into ears. Pinch the end to the round part of the roll. Bake as directed. Reshape if needed, then top with icing. AContinue reading "Easter Bunny Cinnamon Rolls"
Easy Pasta From Scratch
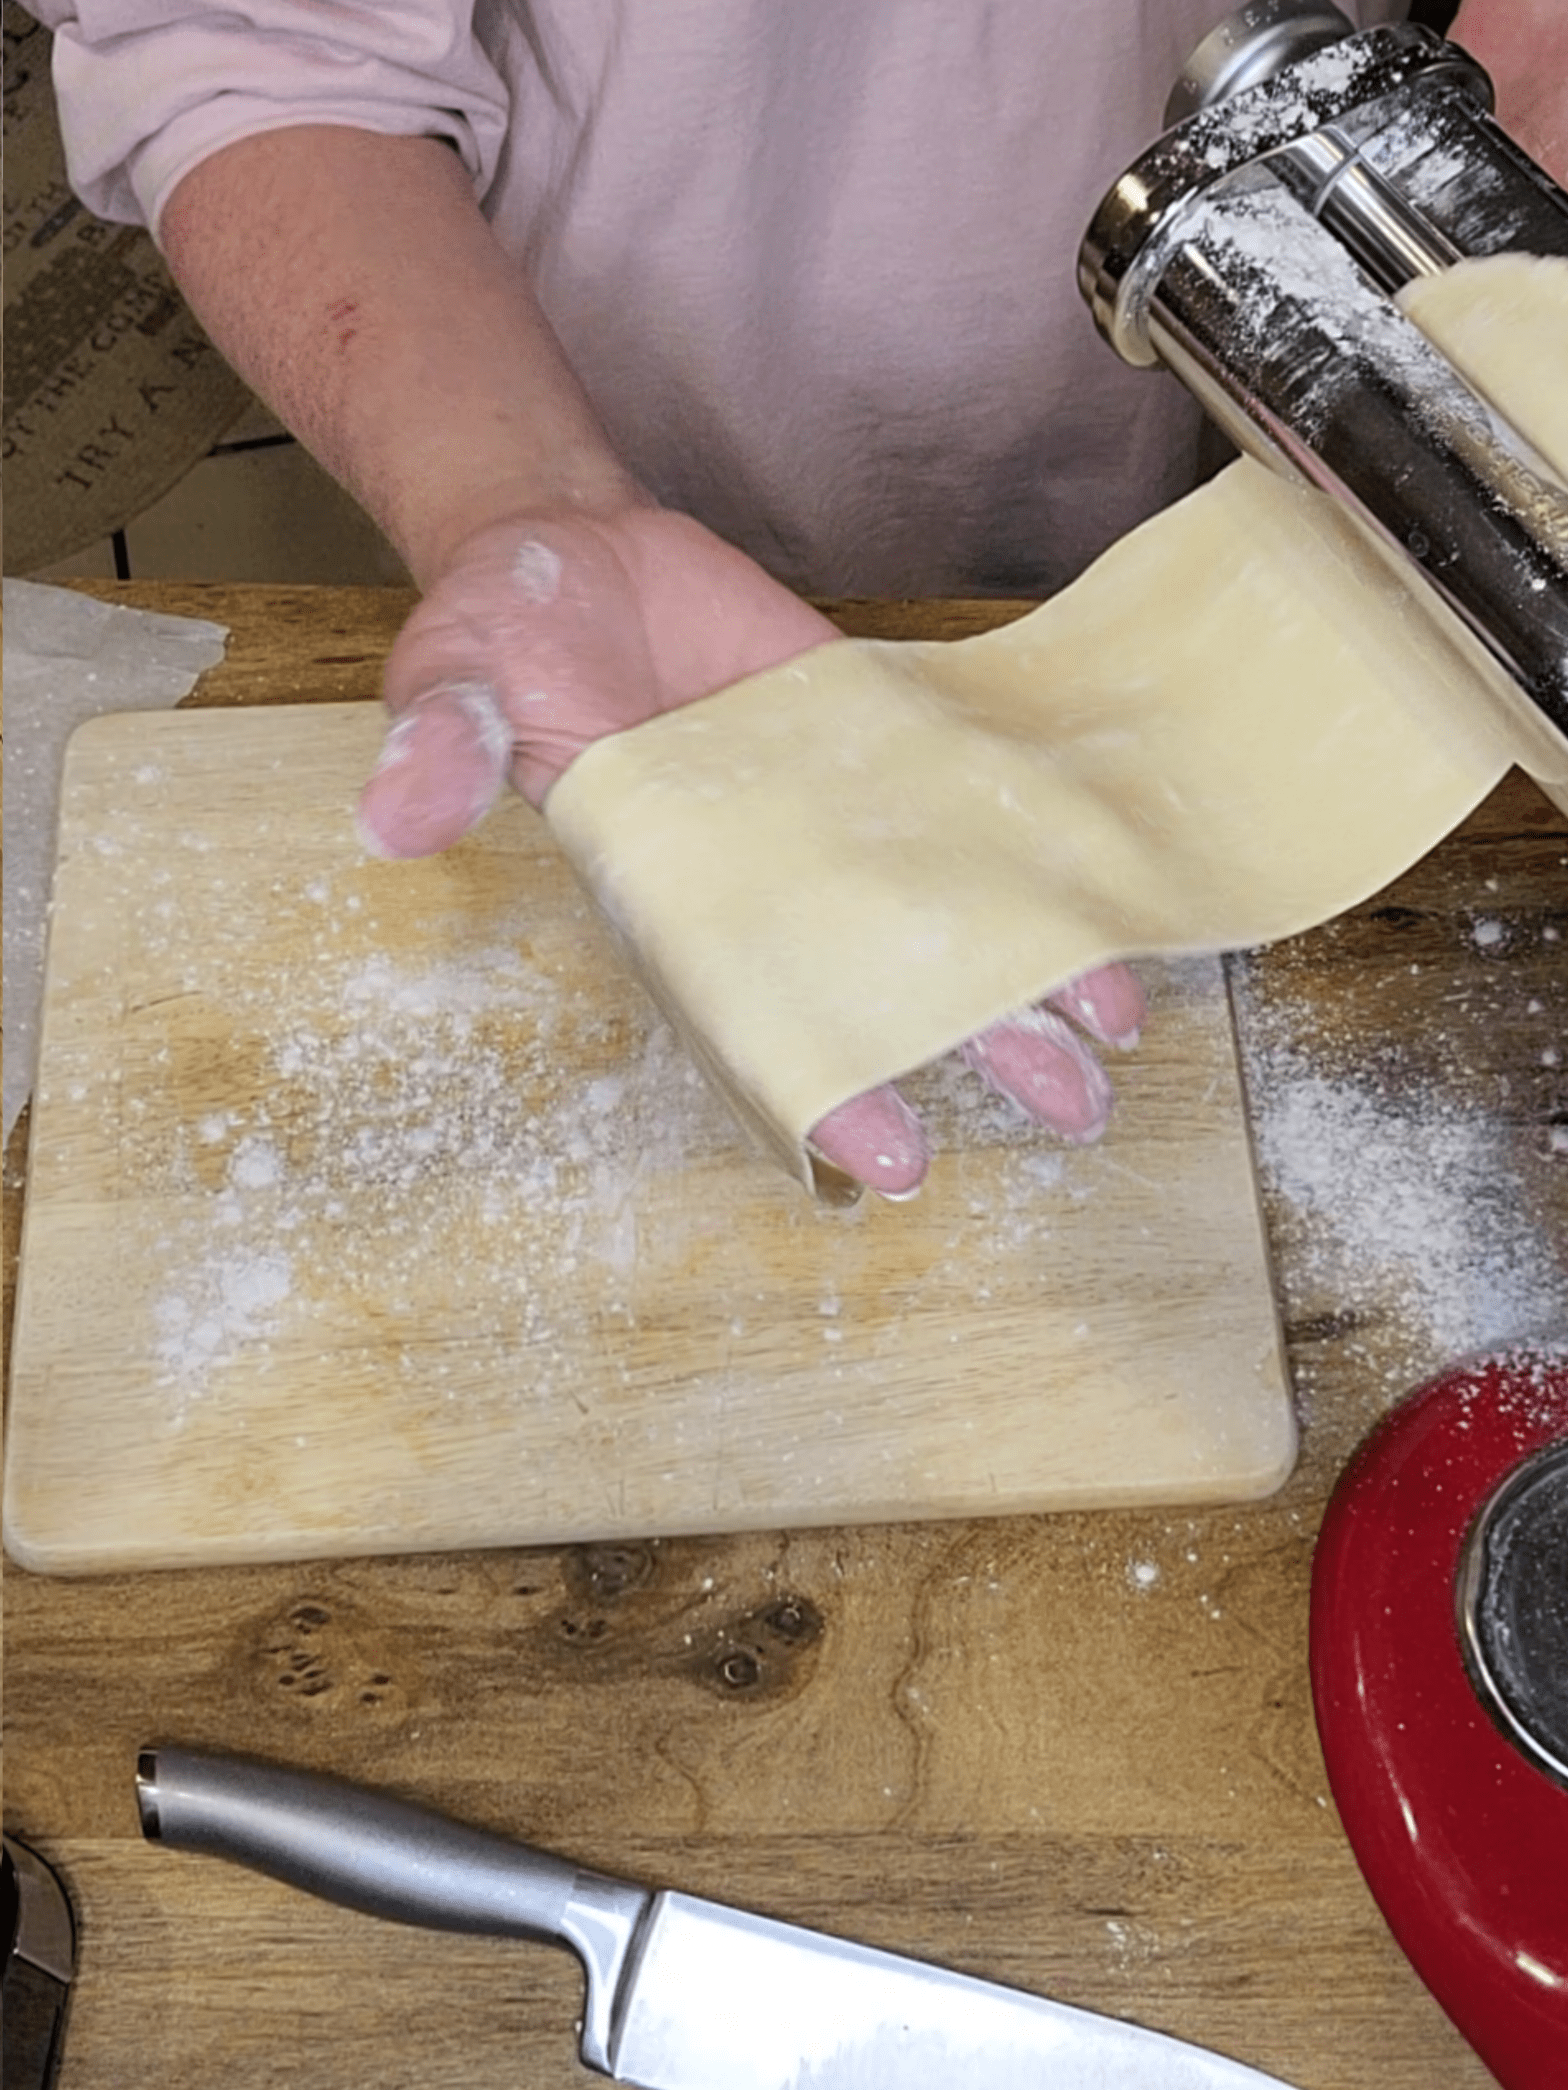
Making pasta from scratch intimidates a lot of home chefs, but it's pretty easy. It's just 4 ingredients, rolled together, rested, flattened, cut, and boiled. Really, that's it! I use a KitchenAid for the mixing, flattening, and cutting, but everything can be done by hand. USING A KITCHENAID In the metal bowl, add 2 cupsContinue reading "Easy Pasta From Scratch"
Valentine’s Day Heart-Shaped Salmon
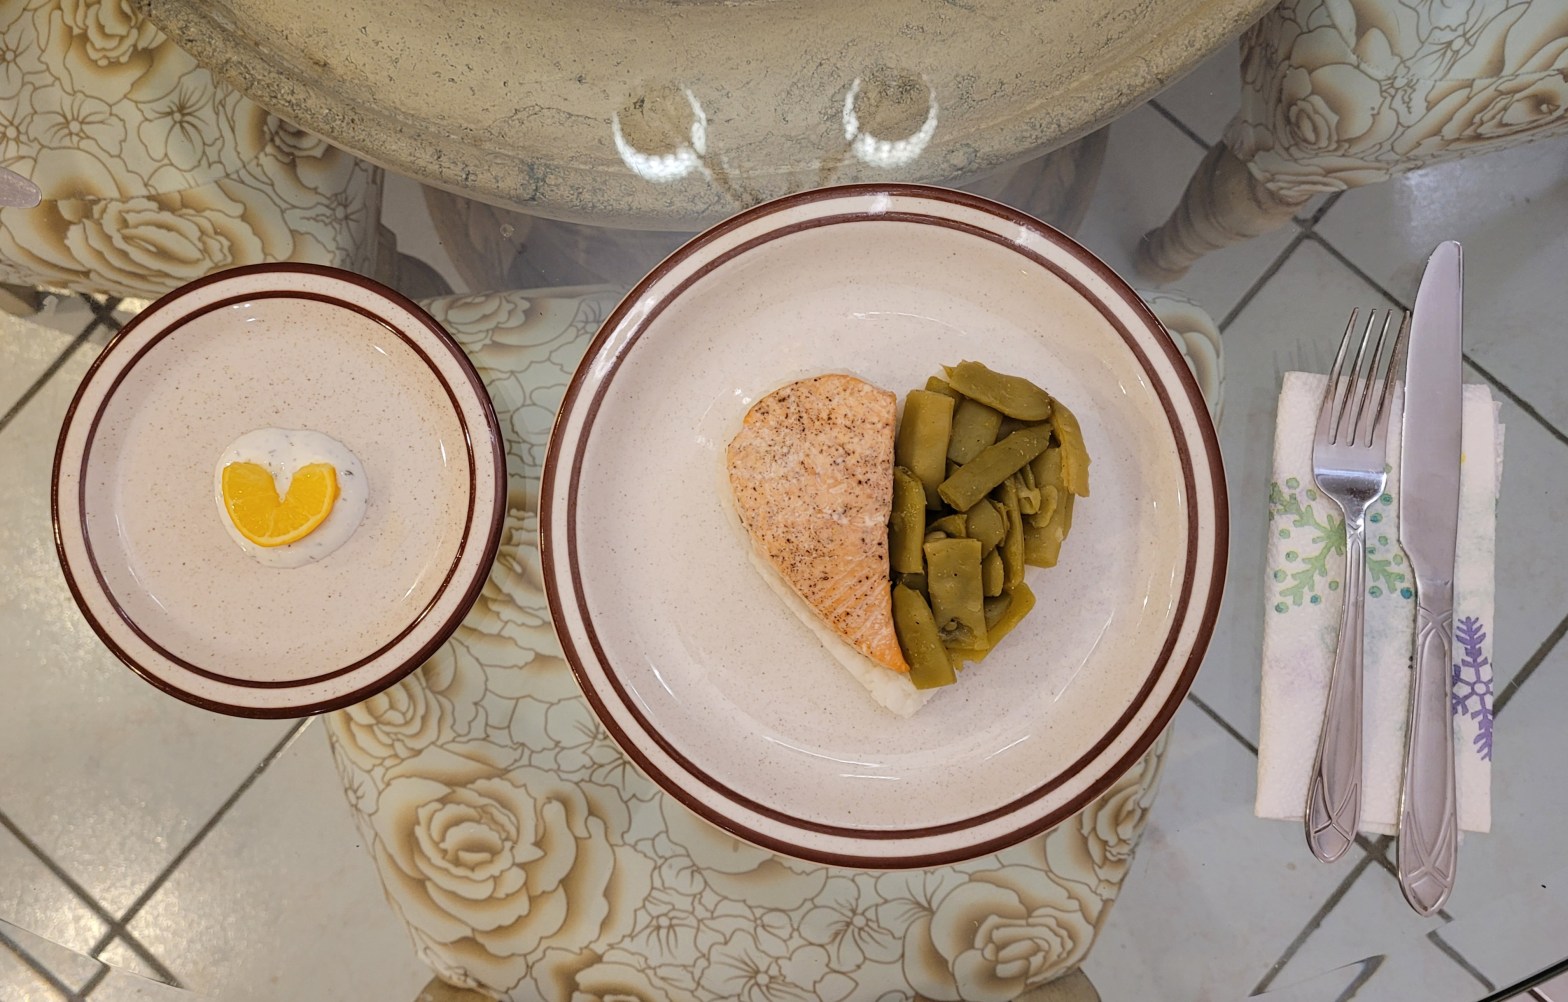
I wanted to make a special Valentine's day dinner at home for my hubby instead of going out to dinner this year. So I made him heart-shaped Salmon and green beans over rice, with a side of homemade dill Greek yogurt sauce. This blog is more of an idea I wanted to share and notContinue reading "Valentine’s Day Heart-Shaped Salmon"
Lighted Up Spatchcock Chicken
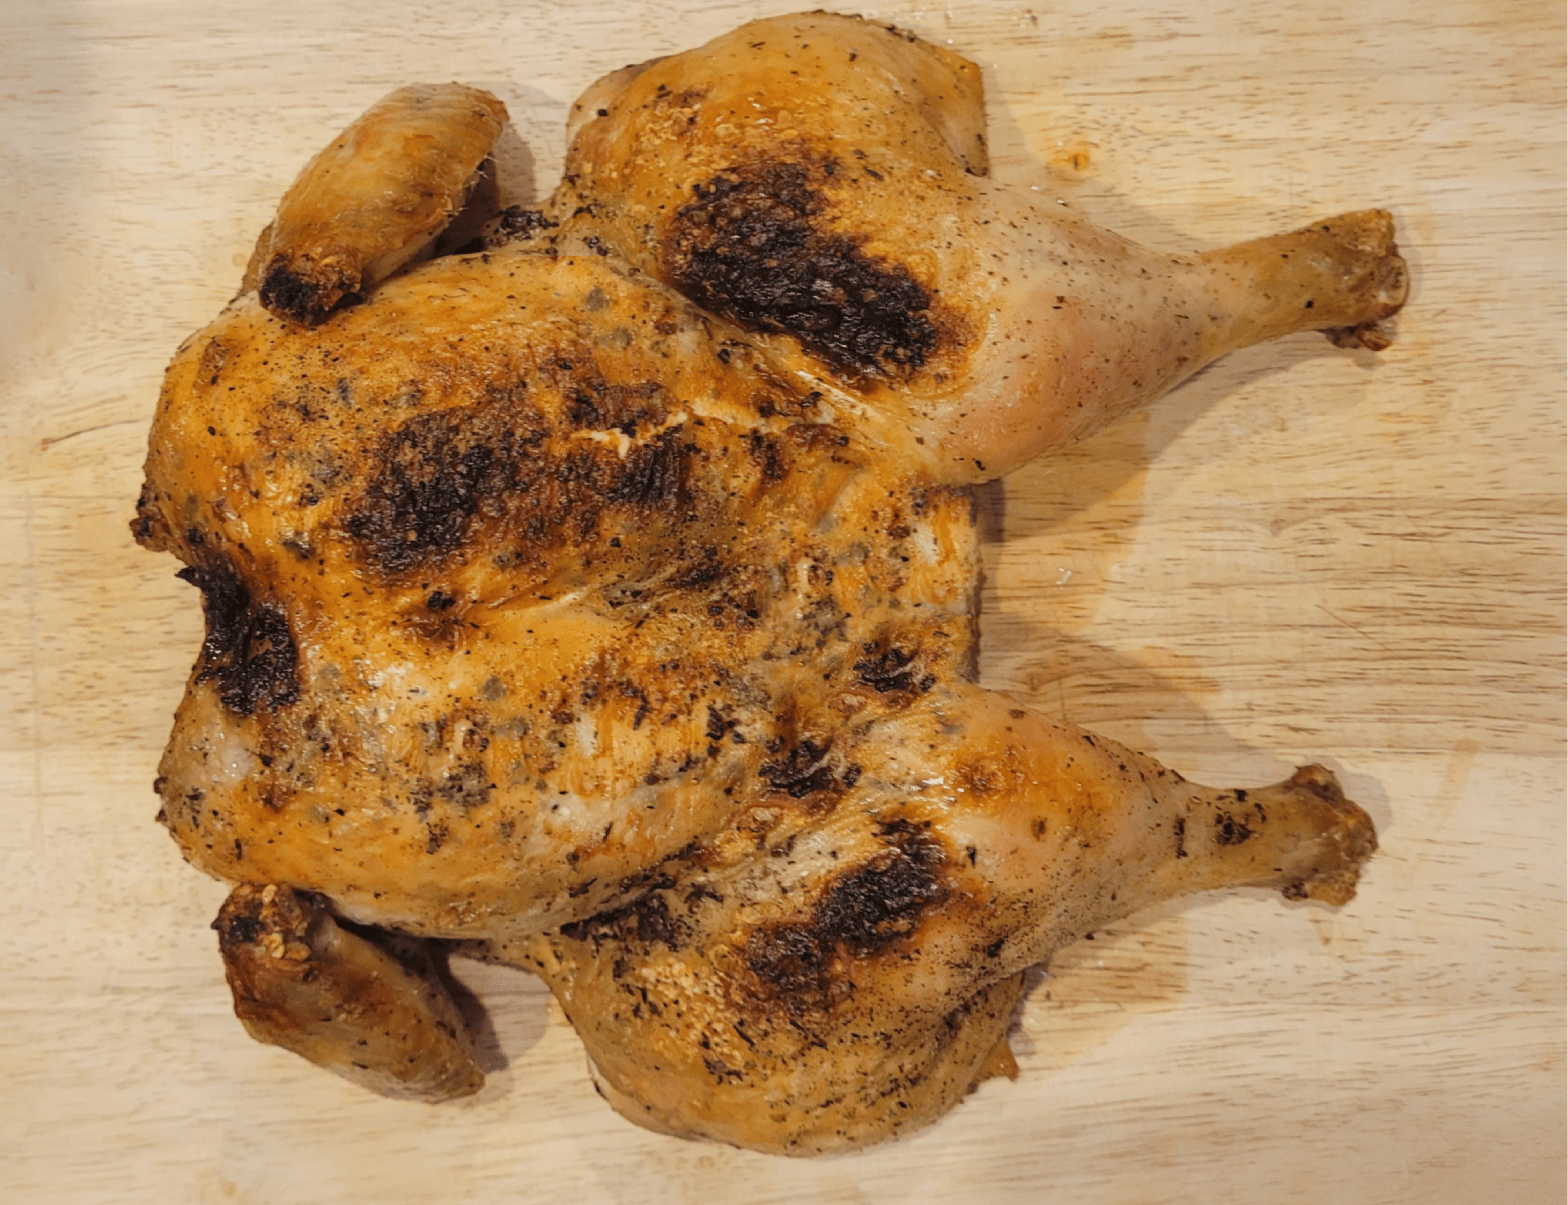
Spatchcock chicken is the best way to cook a chicken because it cooks evenly. So what is spatchcock? It is when you cut out the backbone of the chicken. Then you turn the chicken breast side up and press down on the breast bone to flatten it. That's it! To go a step further, loosenContinue reading "Lighted Up Spatchcock Chicken"
Lightened Up Stuffed Peppers
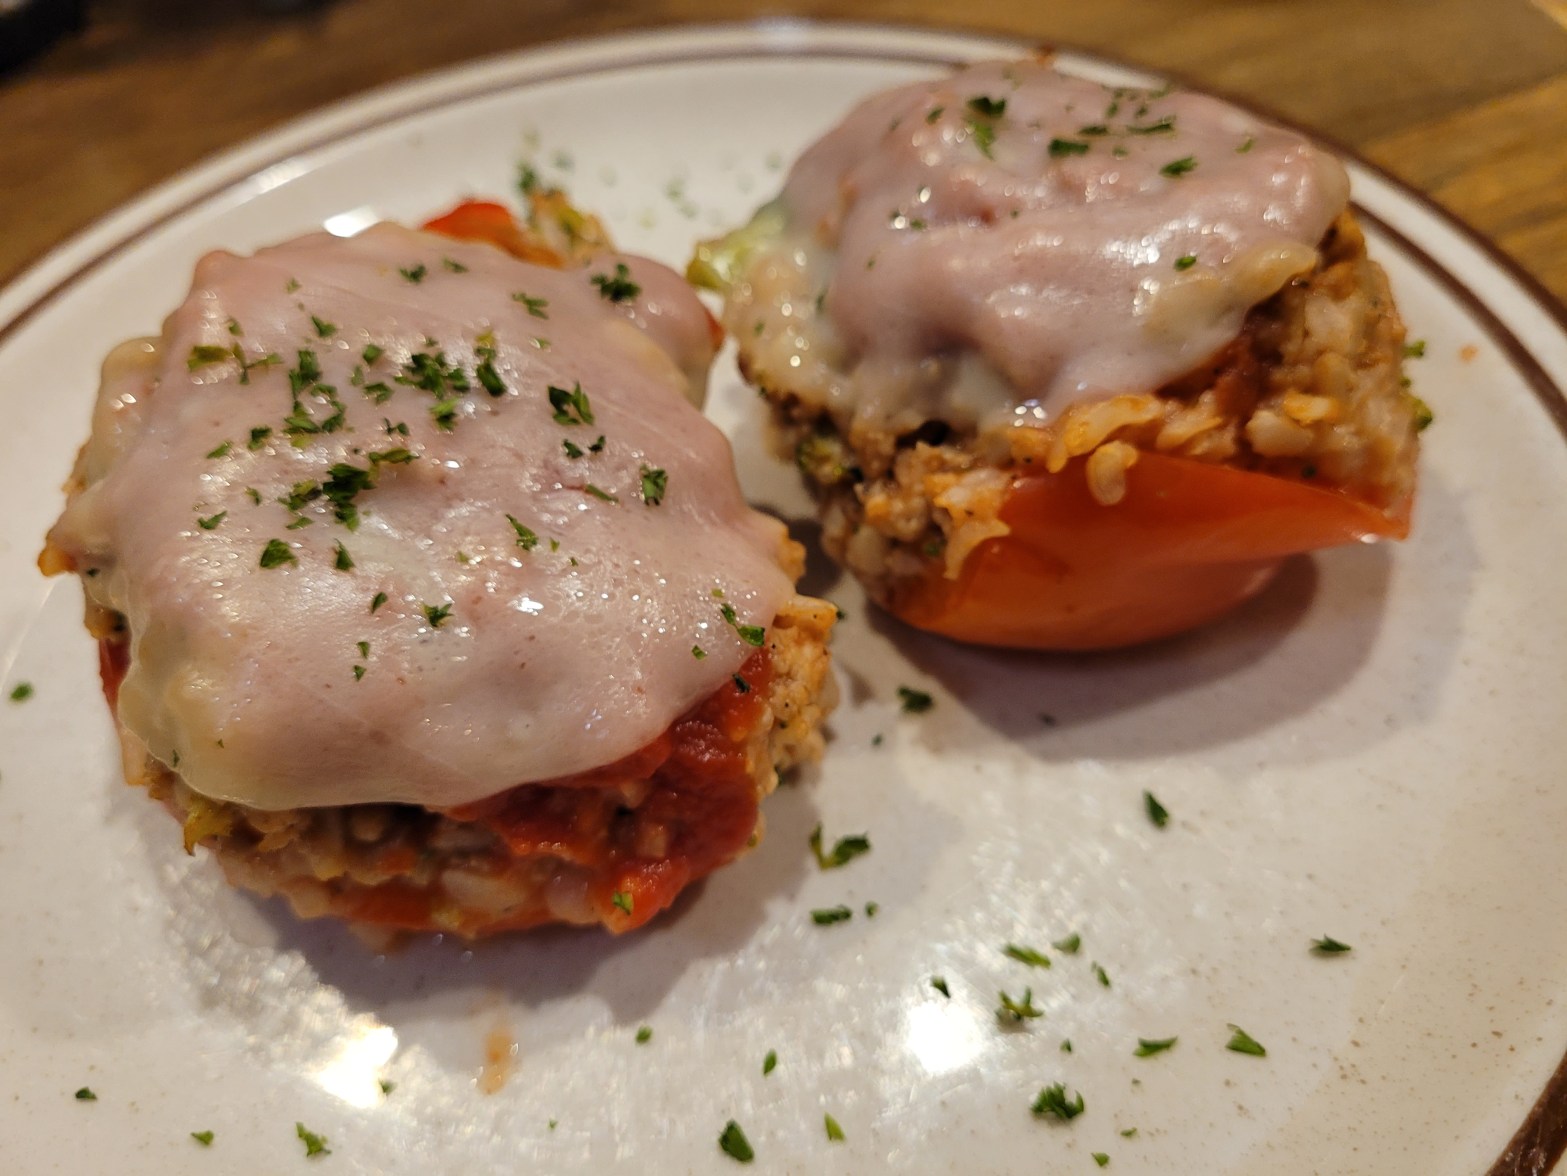
One of my mom's go-to meals was the stuffed pepper. You can stuff the pepper with anything, especially left overs. You can make taco peppers, pasta peppers, even veggie peppers. This is my lighted up recipe of the classic stuffed pepper. Instead of ground beef, which has a lot of calories and is greasy, IContinue reading "Lightened Up Stuffed Peppers"
Pesto Stuffed Pork Loin
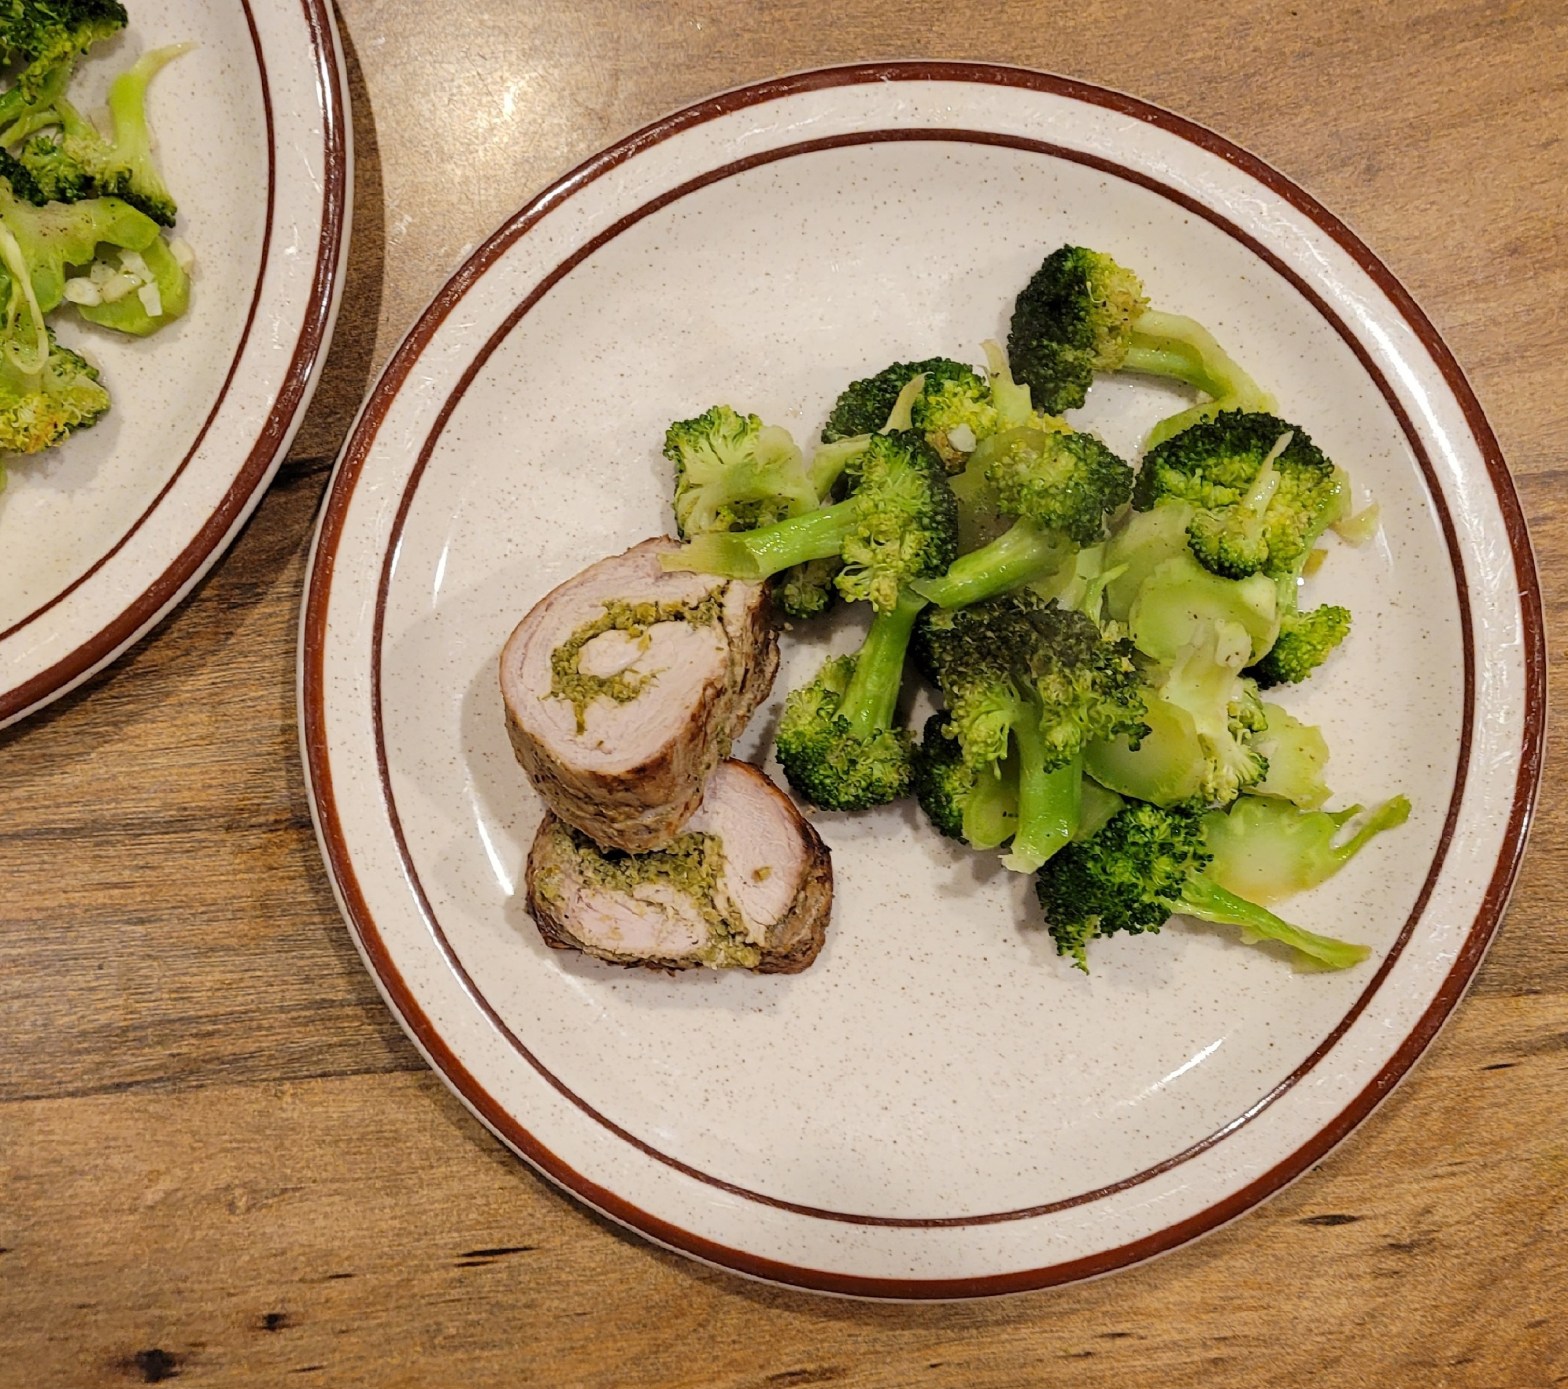
Watching what you eat DOESN'T have to mean you can only have bland boring food (that doesn't even fill you). Whether you are counting calories or fat, my Pesto Stuffed Pork Loin is the answer. It is stuffed with my Healthy (No Oil) Pesto or you can use store bought pesto. Pork Loins are low inContinue reading "Pesto Stuffed Pork Loin"
Roasted Cauliflower Curry Soup
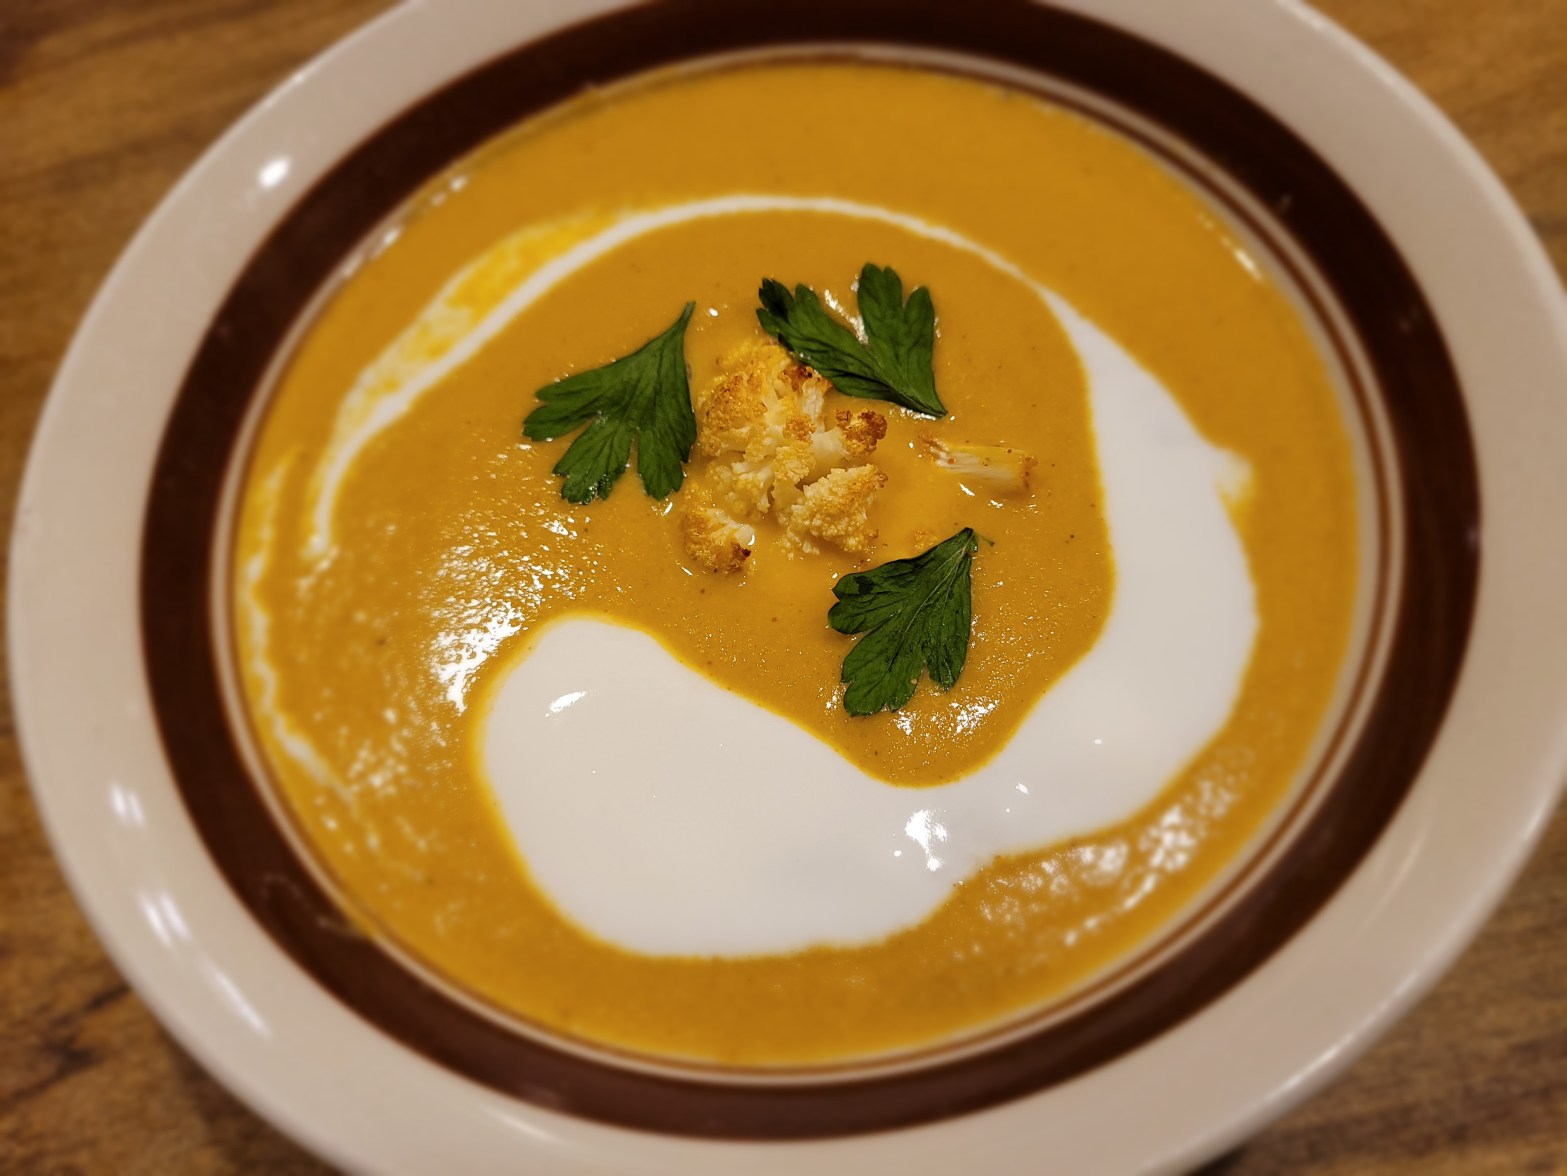
One of my hubby's favorite flavors is curry. Curry is a smooth luxurious soup that has a warm and inviting aroma, with a deep spiced and coconut background. Regular curry soup has a lot of calories, so I developed this recipe to cut those calories in half - but with all the spice and flavors.Continue reading "Roasted Cauliflower Curry Soup"
Healthy, No Oil, Pesto
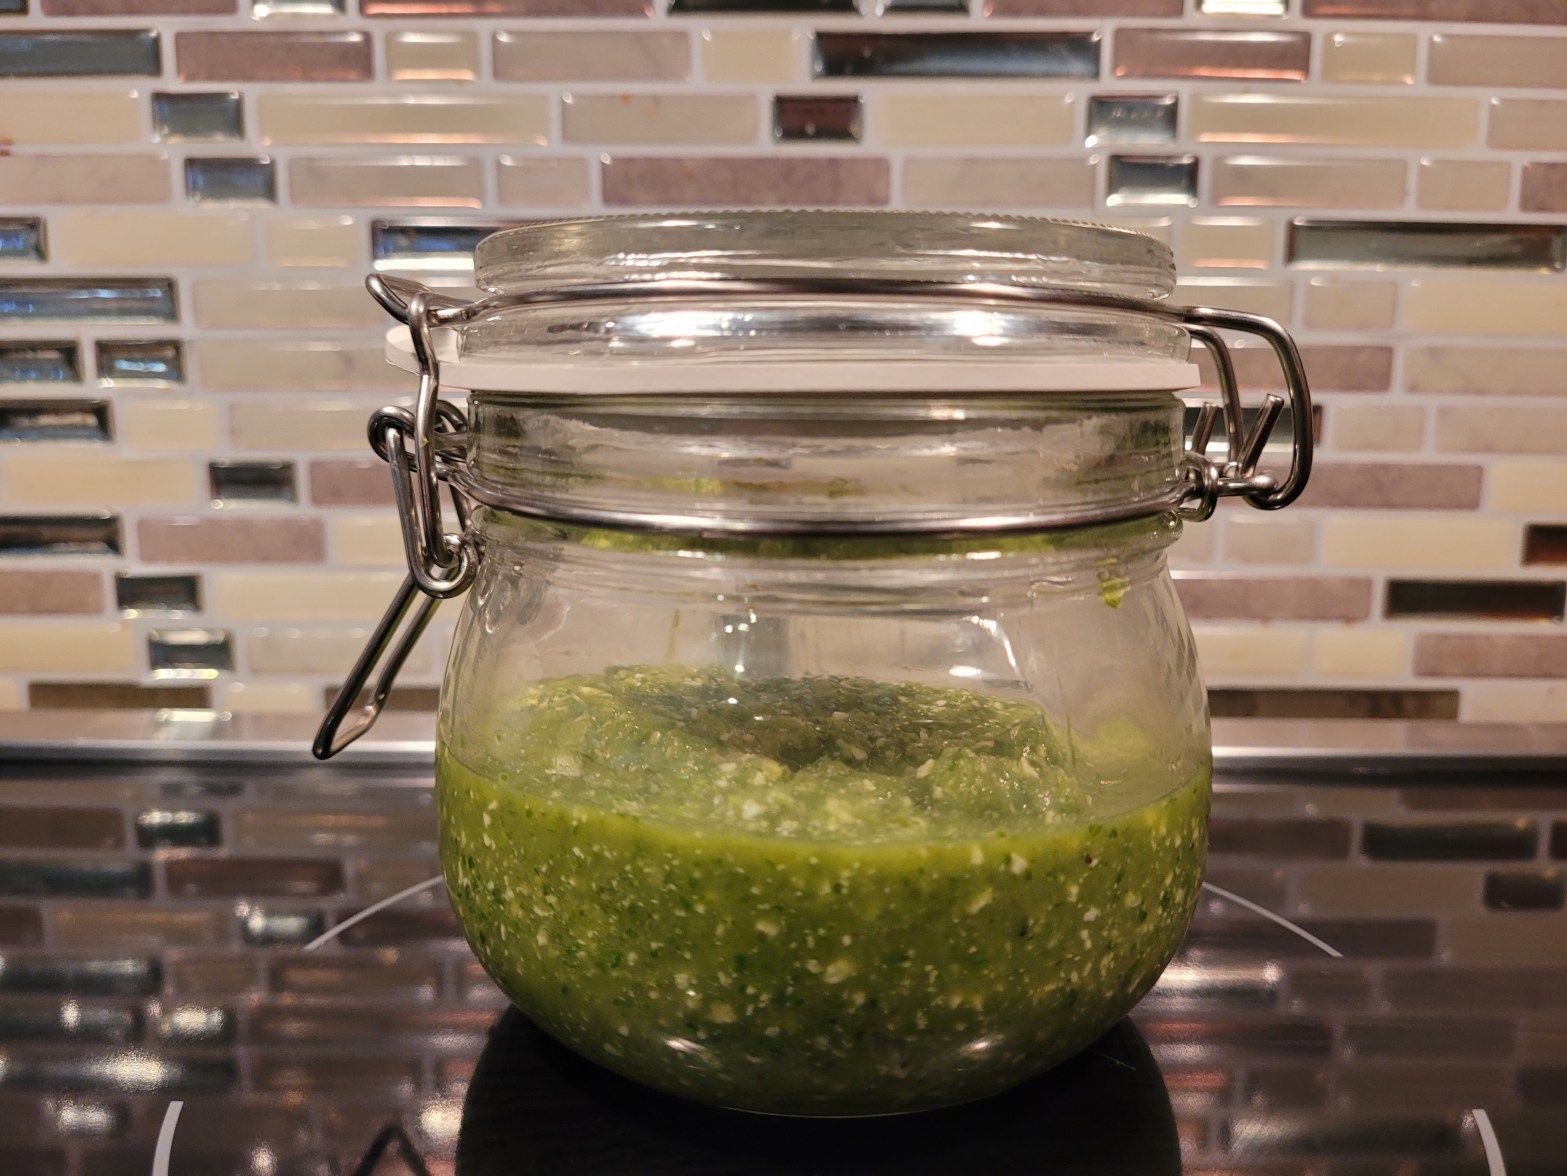
Pesto is a herb paste and can be used alone, like as a dip, or added to a recipe as a flavor enhancer, like a condiment or in sauces. I even add pesto to my tuna salad sandwiches so I can decrease the amount of mayo I use, and it brings such a light andContinue reading "Healthy, No Oil, Pesto"
Freeze Your Stock Into Perfect Portions
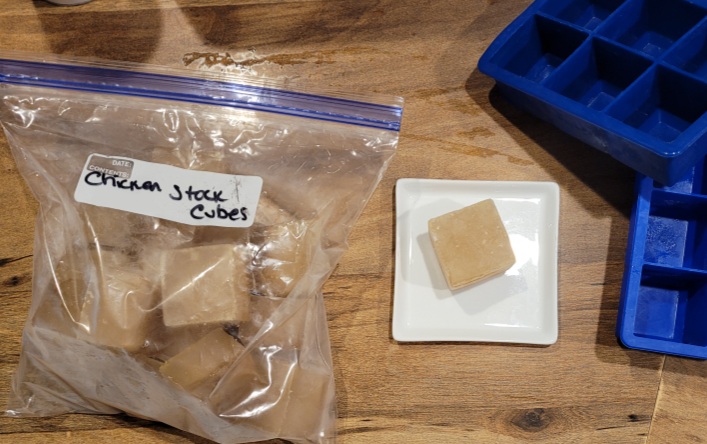
I absolutely hate to waste food - and I hate even more to throw anything away. So, when I have extra homemade stock or soup, I save it as perfect portions in the freezer. This can also be done with all kinds of liquids - sauce, gravy, stew, pesto... My Free Homemade Stock is justContinue reading "Freeze Your Stock Into Perfect Portions"
Low Calorie Creamy Peanut Butter Dip
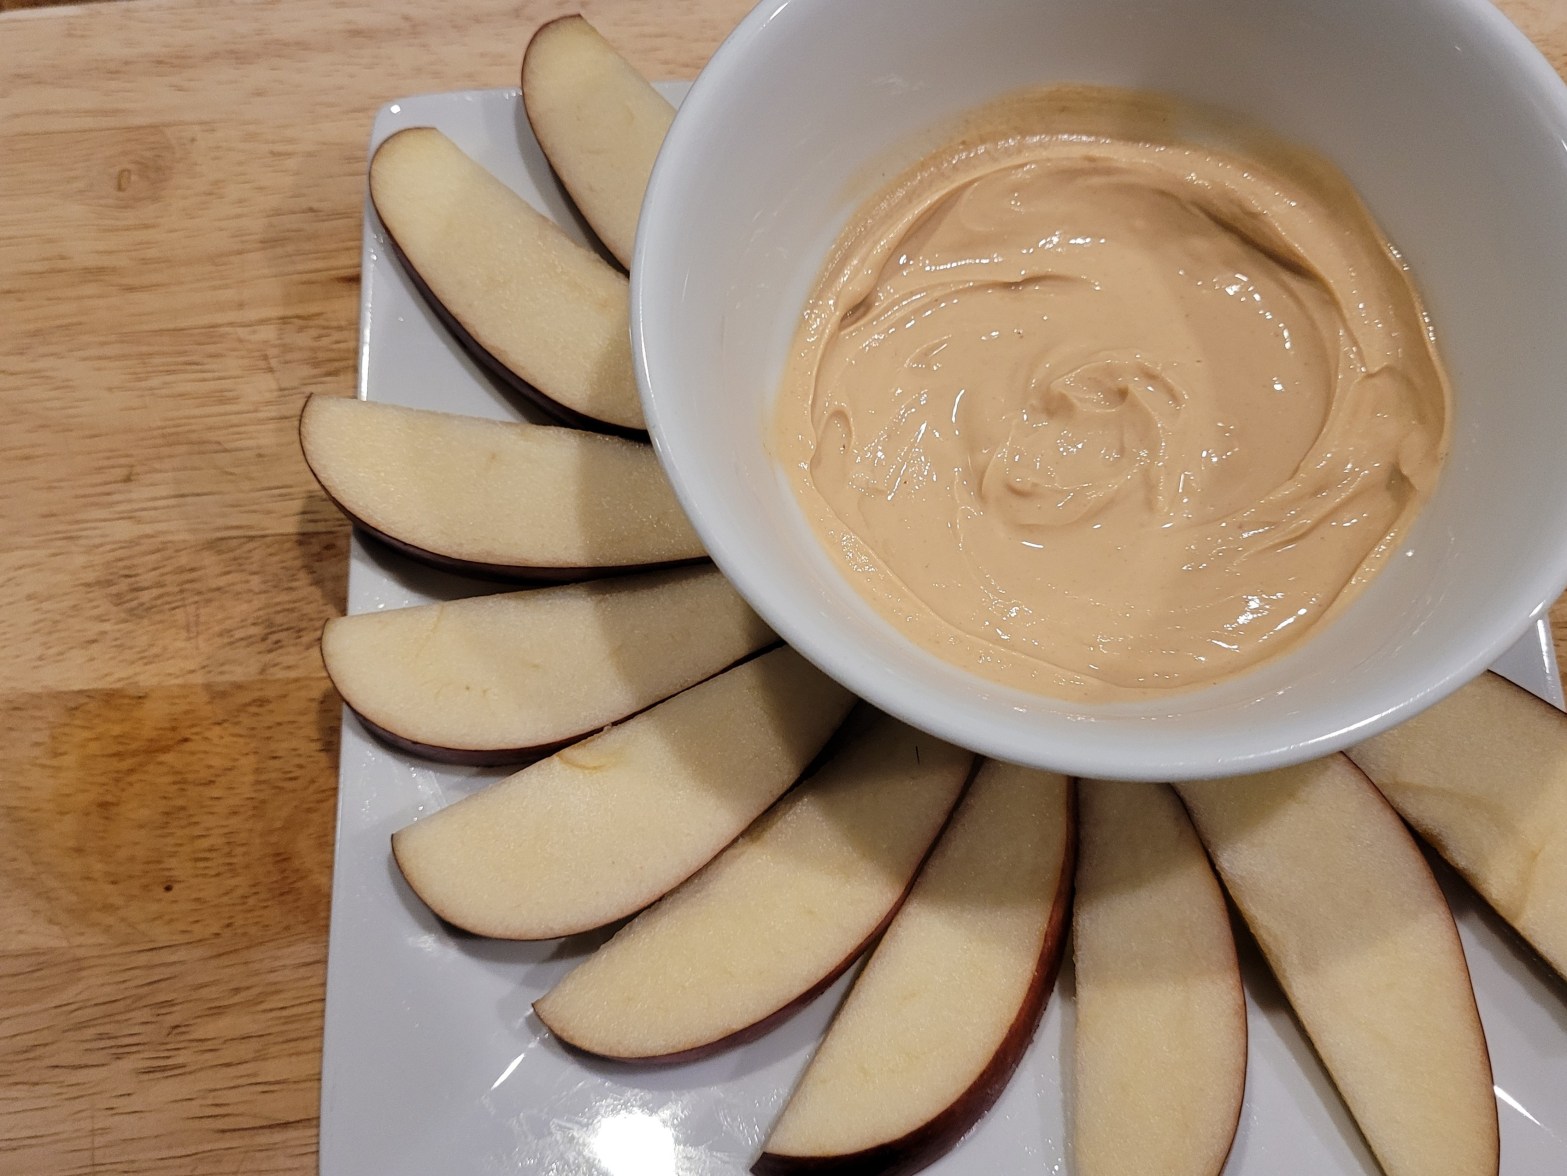
One of my fav snacks is an apple slice dipped in peanut butter, but PB has sooo many calories. PB has 190 calories and 16g fat for just 2 tbsp. This entire recipe, including an apple (which has about 95 cal) is less calories and fat than 2 tbsp of PB. How? I used PB2.Continue reading "Low Calorie Creamy Peanut Butter Dip"
